
Phonebook app in Angular

Introduction#

In this tutorial we are going to make a simple phonebook app with angular that uses Architect SDK as a backend service. We will make a UI for our app and show how we can greatly simplify data management with Architect SDK. For simplicity sake we won't use any external library. If you want to get started quickly check our Angular quick start guide.

Setup#

Go to folder of your choice and type following command:1

ng new phonebook-app

When asked to add routing type y and press Enter. When asked which stylesheet format would you like to use, select CSS option and press Enter. Wait for a couple of seconds for everything to install. Open newly installed app in your editor of choice (I will use vscode) and serve the app by typing:

ng serve --open

Check if the app is running on port 4200. If everything is okay you will see welcome angular page.

Angular start page

Environment#

Before we continue with building the UI we will setup environment. Go to environments folder inside src, and add this line to both environment.ts and environment.prod.ts file:2

baseUrl: 'https://architect_demo.essentialz.cloud',

environment.ts file should now look like this:

export const environment = {
production: false,
baseUrl: "https://architect_demo.essentialz.cloud",
};

environment.prod.ts should also have the same form, expect production prop should be true.

Adding components#

Our app will have three pages and one shared component: contact list for displaying and deleting contacts, contact form for adding and updating contacts, login page for user authorization and navbar for navigation. Lets create them. Type in the terminal:

ng generate component contact-list
ng generate component contact-form
ng generate component login
ng generate component navbar

Inside you app folder you should see four more folders contact-form, contact-list, navbar and login, and for each of those folders there should be 3 files: (actually 4 but we will ignore spec.ts files)

  1. .css file, where we will write our styles
  2. .html file, where we will write our markup
  3. .ts file where we will put our logic.

Routing#

We will now add routing. We need foempty-app ur routes, root route /, which will display login component, /contact-list route will display contact list and /contact-form route where we will display form for creating contacts and /contact-form/:id for updating contacts. Later we will add route guars to prevent unauthorized users to visit /contact-form and /contact-list routes.

Let's go to app-routing.module.ts and them. First we need to import components we created. Add these lines below default imports and above routes constant.

import { ContactFormComponent } from "./contact-form/contact-form.component";
import { ContactListComponent } from "./contact-list/contact-list.component";
import { LoginComponent } from "./login/login.component";

Inside route array add four objects with following properties3:

const routes: Routes = [
{ path: "contact/:id", component: ContactFormComponent },
{ path: "contact", component: ContactFormComponent },
{ path: "contact-list", component: ContactListComponent },
{ path: "", component: LoginComponent },
];

Now go to app.component.html and after deleting everything inside it and put the following code:

<router-outlet></router-outlet>

If you check out app you should see

Empty page

login works!

To check if other routes are working we can type appropriate paths in the url bar. To check if contact-list is working add /contact-list after the localhost:4200 part. You should see

contact-list works!

Similarly for other routes.

Now that we added routing let's go and start adding styles and markup to our components.

Architect SDK service#

First we will install Architect SDK package.

npm install architect-sdk

We will now create Architect SDK service with the following command:

ng generate service architectSDK

New file called architect-sdk.service should be inside src folder. We will use Architect SDK via this service. Before we do that we need to configure Architect SDK. Inside src folder create a new file called architectConfig.ts and put this code:

import architectSDK, { ArchitectResource } from "architect-sdk";
import { environment } from "./environments/environment";
export type Contact = {
id: string;
pictureUrl: string;
firstName: string;
lastName: string;
phone: string;
email: string;
};
export type ArchitectSchema = {
contacts: ArchitectResource<Contact>;
};
export const client = architectSDK<ArchitectSchema>({
baseUrl: environment.baseUrl,
});

A lot of things happened here. First we imported architectSDK and ArchitectResource type from the package we installed. Then we imported environment file to access baseUrl we defined earlier. In order to have access to Architect SDK type system we defined Architect schema with property contact whose type is Contact. We will now should have full autocomplete in our editor (I am using VsCode).

We can add our new client (which includes all functionality provided by Architect SDK) in various ways. We will do this through ArchitectSDKService. First let's import client from architectConfig.ts in architect-sdk.service.ts. Then let's add private field _architectSDK and initializing it in the constructor.

import { client } from "../architectConfig";
private _architectSDK;
constructor() {
this._architectSDK = client;
}

We will define some methods that we will use later inside our components. After adding them ArchitectSDKService should look like this:

import { Injectable } from "@angular/core";
import { client, Contact } from "../architectConfig";
@Injectable({
providedIn: "root",
})
export class ArchitectSDKService {
private _architectSDK;
constructor() {
this._architectSDK = client;
}
public getContacts() {
return this._architectSDK.contacts.getAll();
}
public createContact(newContact: Contact) {
return this._architectSDK.contacts.create(newContact);
}
public deleteContact(id: string) {
return this._architectSDK.contacts.delete(id);
}
public getContact(id: string) {
return this._architectSDK.contacts.get(id);
}
public updateContact(id: string, contact: Contact) {
return this._architectSDK.contacts.update(id, contact);
}
public uploadFile(file: File) {
return this._architectSDK.files.upload(file);
}
public login(email: string, password: string) {
return this._architectSDK.login({ email, password }, "email");
}
public logout() {
this._architectSDK.logout();
}
public isLoggedIn() {
return this._architectSDK.isAuthenticated();
}
}

Now we are ready to use Architect SDK. Before we do that we should update our components.

Adding styles#

We want to share some styles across all components. Easiest way to accomplish such thing is with global styles. Put the following content inside src/styles.css.

.form-field {
display: flex;
flex-direction: column;
gap: 3px;
width: 100%;
}
.form-field > label {
font-size: 14px;
padding-left: 5px;
}
.form-field > input {
border: 1px solid rgb(216, 216, 216);
border-radius: 5px;
height: 30px;
}
.form-field > input::placeholder {
font-family: Arial, Helvetica, sans-serif;
font-size: 12px;
text-indent: 5px;
}
.btn {
height: 35px;
min-width: 120px;
border-radius: 4px;
border: none;
cursor: pointer;
font-size: 14px;
}
.btn:disabled {
background-color: rgb(74, 74, 243, 0.1);
cursor: default;
}
.btn-purple {
background-color: rgb(74, 74, 243);
color: white;
}
.btn-white {
background-color: whitesmoke;
color: gray;
border: 1px solid gainsboro;
}
.btn-danger {
background-color: rgb(219, 77, 77);
color: white;
}

Navbar#

We will add navbar from which user can logout. In navbar.component.css paste:

.logout {
display: flex;
align-items: center;
height: 60px;
justify-content: flex-end;
margin-bottom: 10px;
box-shadow: 0 0 0 2px rgb(216 216 216);
padding: 15px;
}

We want to redirect user to root route / after logout. We will use ArchitectSDKService for user authentication. Let's implement this. First import Router and ArchitectSDKService in navbar.component.ts.

import { Router } from "@angular/router";
import { ArchitectSDKService } from "../architect-sdk.service";

Then we should inject Router and ArchitectSDKService in our constructor.

constructor(
private _architectSDKService: ArchitectSDKService,
private _router: Router
) {}

Then let's add logout method.

async logout() {
await this._architectSDKService.logout();
this._router.navigate(['/']);
}

First we will logout user and the navigate them to the root route (login component).

Only thing that is left is markup. Inside navbar.component.html paste this code:

<header class="logout">
<button (click)="logout()" class="btn btn-purple">Logout</button>
</header>

We are done with navbar component. We will add it to contact-list and contacts component later.

Login component#

Let's first start with login component. Insert into login.component.css:

.form-wrapper {
display: flex;
align-items: center;
justify-content: space-around;
height: 70vh;
font-family: Arial, Helvetica, sans-serif;
}
.form {
width: 50%;
min-width: 400px;
border: 1px solid rgb(216, 215, 215);
border-radius: 5px;
box-shadow: 0px 0px 0px 1px rgba(178, 204, 247, 0.5);
display: flex;
flex-direction: column;
gap: 12px;
padding: 15px;
align-items: center;
}

Next we want to collect user input. To do so we first need to import ReactiveFormsModule in app.module.ts file and put it inside imports array. app.module.ts should now look like this:

import { NgModule } from "@angular/core";
import { BrowserModule } from "@angular/platform-browser";
import { ReactiveFormsModule } from "@angular/forms";
import { AppRoutingModule } from "./app-routing.module";
import { AppComponent } from "./app.component";
import { ContactListComponent } from "./contact-list/contact-list.component";
import { ContactFormComponent } from "./contact-form/contact-form.component";
import { LoginComponent } from "./login/login.component";
import { NavbarComponent } from "./navbar/navbar.component";
@NgModule({
declarations: [
AppComponent,
ContactListComponent,
ContactFormComponent,
LoginComponent,
],
imports: [BrowserModule, AppRoutingModule, ReactiveFormsModule],
providers: [],
bootstrap: [AppComponent],
})
export class AppModule {}

Next in the login.component.ts file import FormBuilder and pass it to the constructor as a private variable. Inside constructor initialize loginForm field.

import { FormBuilder, FormControl, FormGroup } from '@angular/forms';
loginForm: FormGroup;
constructor(private _formBuilder: FormBuilder) {
this.loginForm = this._formBuilder.group({
email: new FormControl(''),
password: new FormControl(''),
});
}

Also add login method that will, for now, just console.log loginForm value.

login() {
console.log(this.loginForm.value);
}

This is how login.component.ts file should look now:

import { Component, OnInit } from "@angular/core";
import { FormBuilder, FormControl, FormGroup } from "@angular/forms";
@Component({
selector: "app-login",
templateUrl: "./login.component.html",
styleUrls: ["./login.component.css"],
})
export class LoginComponent implements OnInit {
loginForm: FormGroup;
constructor(private _formBuilder: FormBuilder) {
this.loginForm = this._formBuilder.group({
email: new FormControl(""),
password: new FormControl(""),
});
}
ngOnInit(): void {}
login() {
console.log(this.loginForm.value);
}
}

Go to login/login.component.html and paste this code:

<div class="form-wrapper">
<form class="form" [formGroup]="loginForm" (ngSubmit)="login()">
<h3>Sign in</h3>
<div class="form-field">
<label>Email</label>
<input
type="email"
formControlName="email"
id="email"
placeholder="Email"
autocomplete="email"
/>
</div>
<div class="form-field">
<label>Password</label>
<input
type="password"
formControlName="password"
id="password"
placeholder="Password"
autocomplete="current-password"
/>
</div>
<button class="btn btn-purple">Login</button>
</form>
</div>

Here we have two input fields of type email and password, and a button of type submit. Notice that instead of name attribute we used formControlName, that form element has [formGroup]="loginForm", which bind loginForm to the html form, and (ngSubmit)="login()" which handle submit event with login method we defined earlier in login.component.tsx. Now login page should look something like this Login page
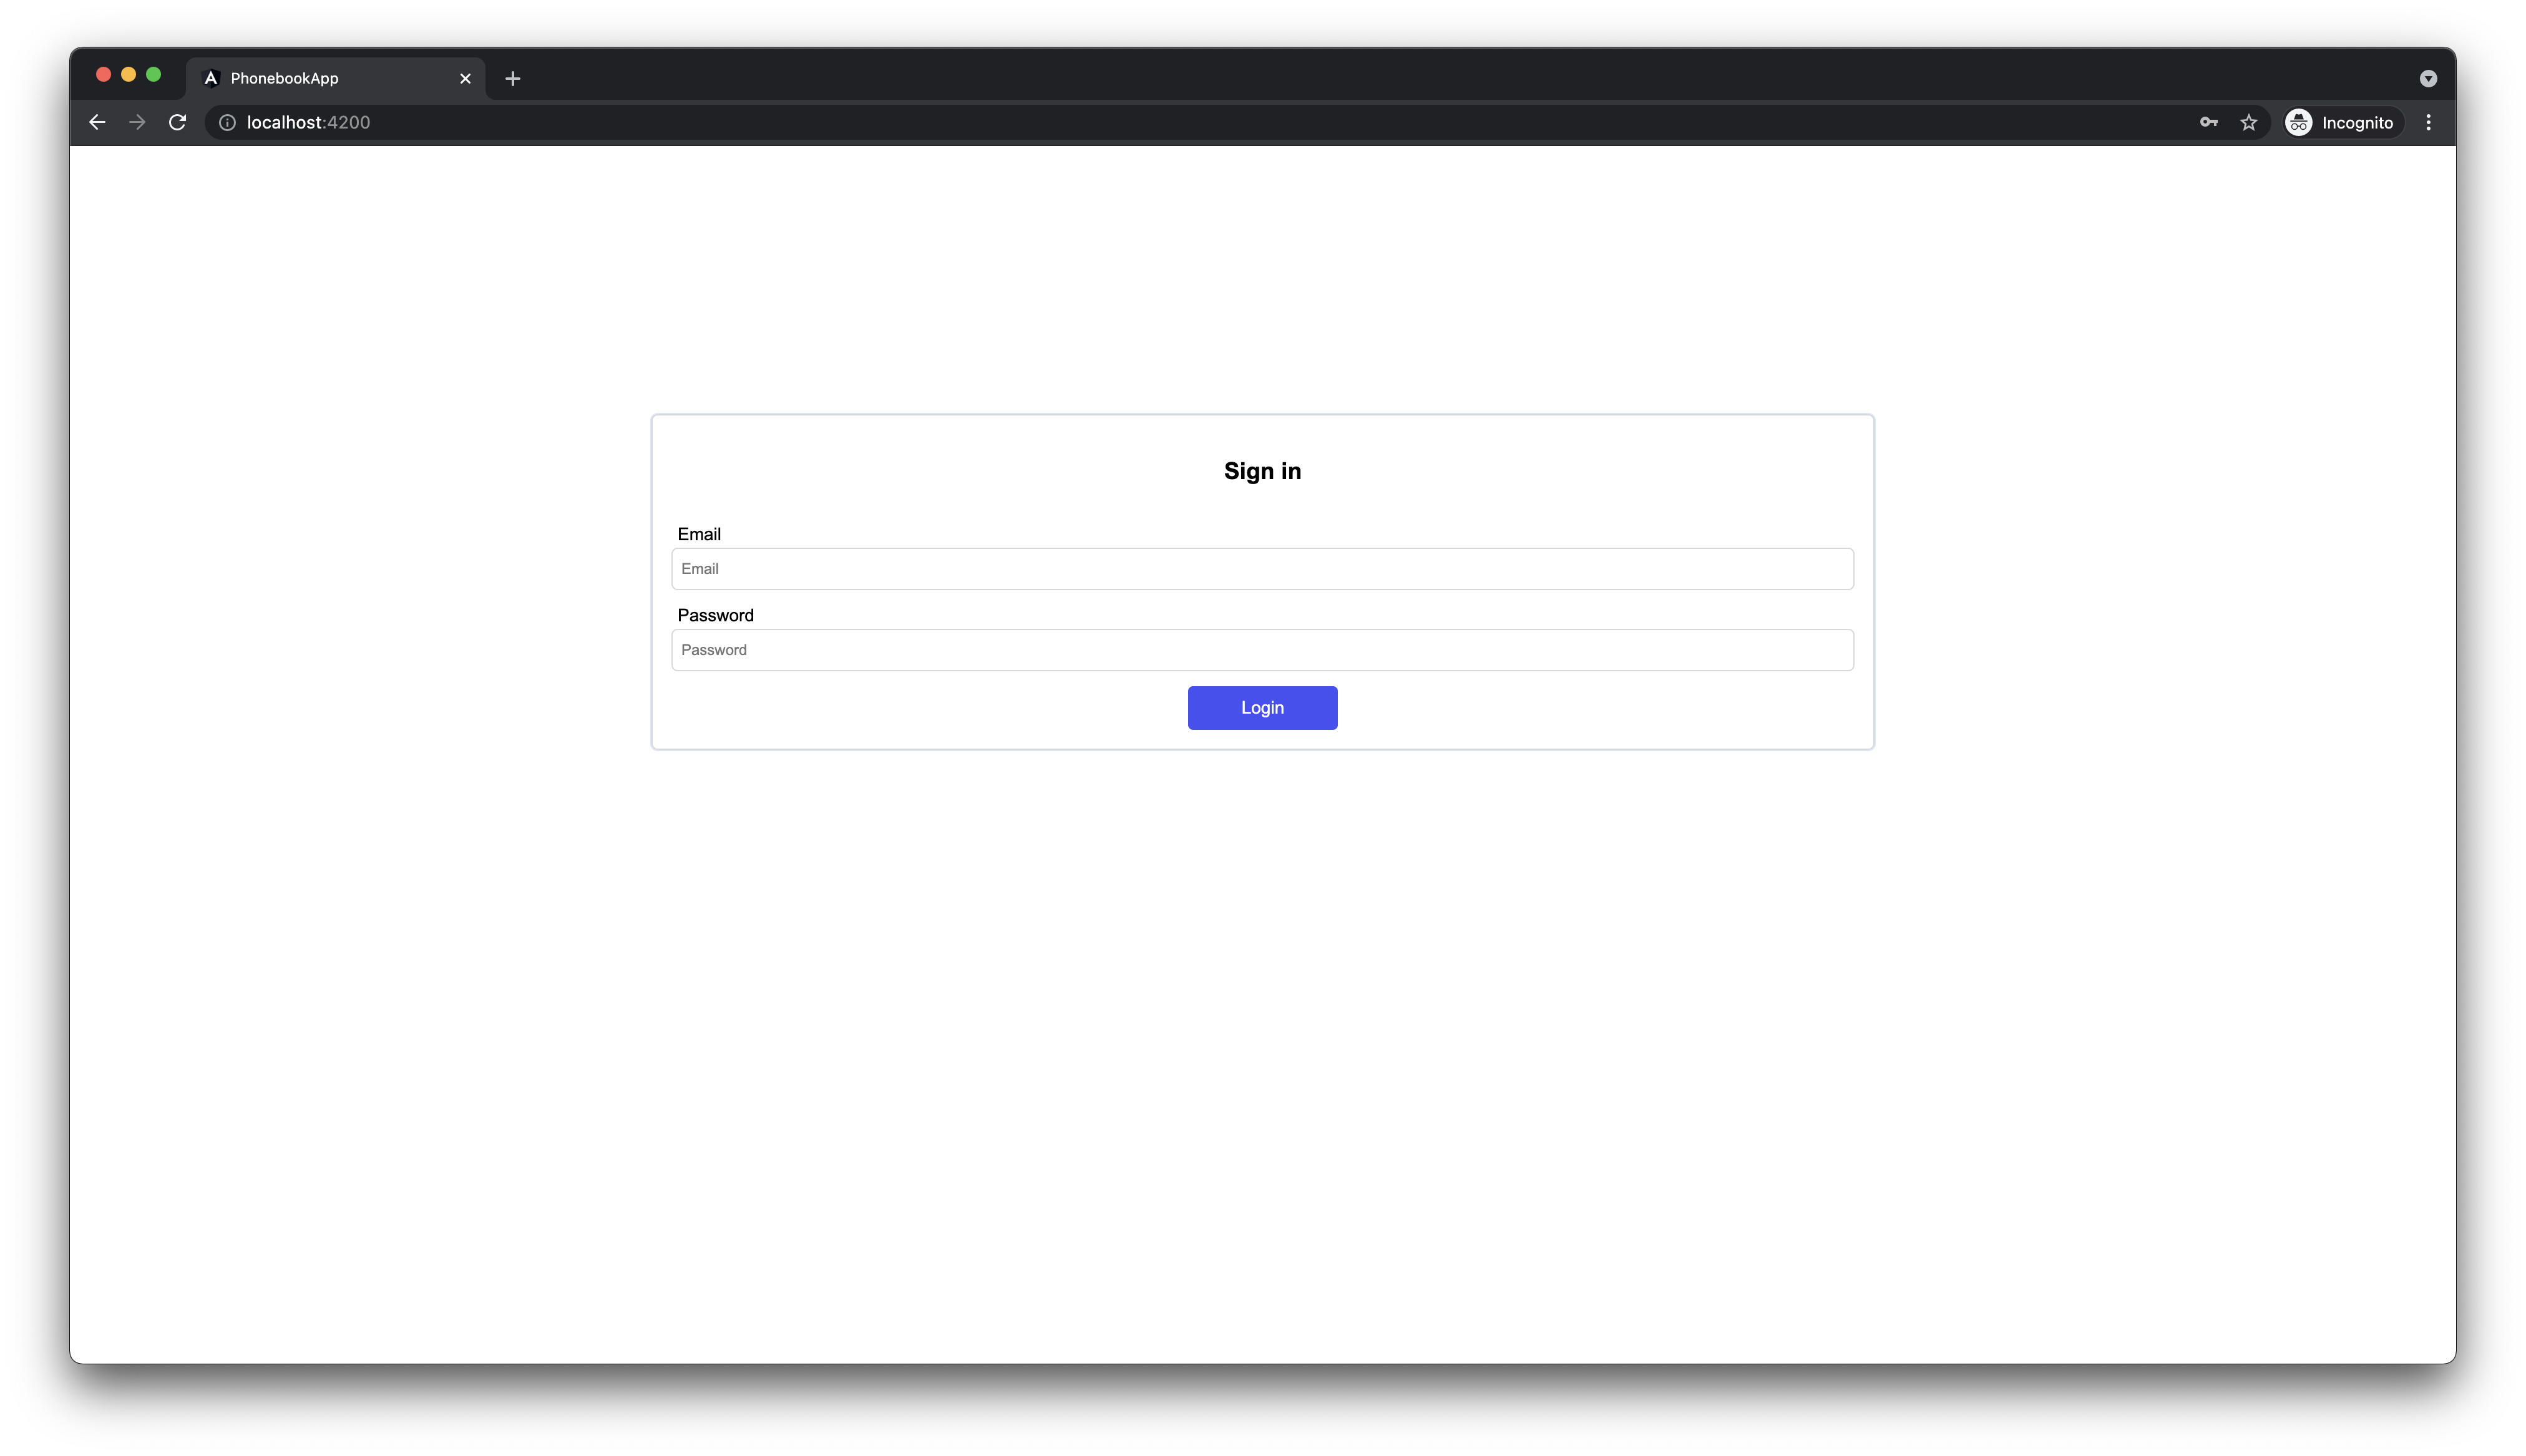
. Type something in the email and password fields and you after clicking on Login you should see result in the console.

Next we want to inject our ArchitectSDKService into LoginComponent. Import ArchitectSDKService.

import { ArchitectSDKService } from "../architect-sdk.service";

Now inject it by adding it to the constructor:

constructor(
private _formBuilder: FormBuilder,
private _architectSDKService: ArchitectSDKService
) {
this.loginForm = this._formBuilder.group({
email: new FormControl(''),
password: new FormControl(''),
});
}

Now make login method async and pass login form value to architectSDKService login method.4.

async login() {
try {
const { email, password } = this.loginForm.value;
await this._architectSDKService.login(email, password);
} catch (e) {
console.log(e);
}
}

Notice that we don't save login response. Architect SDK saves this state internally. We can always check if user logged in by calling isAuthenticated method. We will use this later to create route guards.

After successful login user should be redirected to contact list. Lets do that. Import Router:

import { Router } from "@angular/router";

Now add it in the constructor:

constructor(
private _formBuilder: FormBuilder,
private _architectSDKService: ArchitectSDKService,
private _router: Router
) {
this.loginForm = this._formBuilder.group({
email: new FormControl(''),
password: new FormControl(''),
});
}

Now let's redirect user:

async login() {
try {
const { email, password } = this.loginForm.value;
await this._architectSDKService.login(email, password);
this._router.navigate(['/contact-list']);
} catch (e) {
console.log(e);
}
}

login.component.ts should look like this:

import { Component, OnInit } from "@angular/core";
import { FormBuilder, FormControl, FormGroup } from "@angular/forms";
import { Router } from "@angular/router";
import { ArchitectSDKService } from "../architect-sdk.service";
@Component({
selector: "app-login",
templateUrl: "./login.component.html",
styleUrls: ["./login.component.css"],
})
export class LoginComponent implements OnInit {
loginForm: FormGroup;
constructor(
private _formBuilder: FormBuilder,
private _architectSDKService: ArchitectSDKService,
private _router: Router,
) {
this.loginForm = this._formBuilder.group({
email: new FormControl(""),
password: new FormControl(""),
});
}
ngOnInit(): void {}
async login() {
try {
const { email, password } = this.loginForm.value;
await this._architectSDKService.login(email, password);
this._router.navigate(["/contact-list"]);
} catch (e) {
console.log(e);
}
}
}

Now when you type your credentials5 you should be redirect to the /contact-list route and you should see contact-list works!. Page is empty now so lets fill it up.

Contact list component#

In contact-list.component.css we want to show all contacts, we want to edit contact, delete contact and create contact. Before we start add let's add some styles. Go to contact-list.component.css then paste this code.

.wrapper {
padding: 20px;
box-shadow: 0 0 0 2px rgb(216, 216, 216);
margin: auto;
}
.list-header {
display: flex;
align-items: center;
justify-content: space-between;
padding-inline-start: 40px;
}
ul {
list-style-type: none;
}
li {
display: flex;
align-items: center;
justify-content: space-between;
height: 85px;
border-top: 1px solid rgb(216, 216, 216);
padding: 10px 0;
cursor: pointer;
}
.info {
display: inline-flex;
gap: 10px;
}
.personal-info > div {
margin-bottom: 10px;
}
.purple-text {
color: rgb(79, 70, 229);
font-weight: 500;
}
.gray-text {
color: rgb(107, 114, 128);
}

Inside contact-list.component.tsx import Router, ArchitectSDKService, Contact and pass them to constructor.

import { Router } from '@angular/router';
import { Contact } from '../../architectConfig';
import { ArchitectSDKService } from '../architect-sdk.service';
constructor(
private _router: Router,
private _architectSDKService: ArchitectSDKService
) {}

After fetching them we should store all our contacts in our component, so lets add field contacts.

contacts: Contact[] = [];

To fetch all contacts inside ngOnInit method put the following code:

ngOnInit(): void {
this._architectSDKService.getContacts().then((contacts) => {
this.contacts = contacts;
});
}

Let's add a delete method that handles contact removal6.

async deleteContact(e: Event, id: string) {
e.preventDefault();
e.stopPropagation();
try {
await this._architectSDKService.deleteContact(id);
this.contacts = this.contacts.filter((contact) => contact.id !== id);
} catch (error) {
console.log(error);
}
}

First we send a request to delete contact by passing id parameter to _architectSDKService (this is handled internally by Architect SDK) and, after request completes, we filter out that contact from contacts array.

We also want to to edit and create users. That will be handled by contact-form.component.ts. Add this code to enable redirects:

addContact() {
this._router.navigate(['contact']);
}
editContact(id: string) {
this._router.navigate(['contact', id]);
}

After all this changes contact-list.component.ts should look like this.

import { Component, OnInit } from "@angular/core";
import { Router } from "@angular/router";
import { Contact } from "../../architectConfig";
import { ArchitectSDKService } from "../architect-sdk.service";
@Component({
selector: "app-contact-list",
templateUrl: "./contact-list.component.html",
styleUrls: ["./contact-list.component.css"],
})
export class ContactListComponent implements OnInit {
contacts: Contact[] = [];
constructor(
private _router: Router,
private architectSDKService: ArchitectSDKService,
) {}
ngOnInit(): void {
this.architectSDKService.getContacts().then((contacts) => {
this.contacts = contacts;
});
}
addContact() {
this._router.navigate(["contact"]);
}
editContact(id: string) {
this._router.navigate(["contact", id]);
}
async deleteContact(e: Event, id: string) {
e.preventDefault();
e.stopPropagation();
try {
await this.architectSDKService.deleteContact(id);
this.contacts = this.contacts.filter((contact) => contact.id !== id);
} catch (error) {
console.log(error);
}
}
}

Now in contact-list.component.html add this code.

<app-navbar></app-navbar>
<div class="wrapper">
<div class="list-header">
<h3>Contact list</h3>
<button class="btn btn-purple" (click)="addContact()">Add contact</button>
</div>
<ul>
<li *ngFor="let contact of contacts" (click)="editContact(contact.id)">
<div class="info">
<img
*ngIf="contact.pictureUrl"
[src]="contact.pictureUrl"
width="48"
height="48"
/>
<div class="personal-info">
<div class="purple-text">
{{ contact.firstName }} {{ contact.lastName }}
</div>
<div class="gray-text">{{ contact.phone }}</div>
</div>
</div>
<div class="gray-text">{{ contact.email }}</div>
<div>
<button
class="btn btn-danger"
(click)="deleteContact($event, contact.id)"
>
Delete
</button>
</div>
</li>
</ul>
</div>

Here we iterate over contacts list and display each user information. We also added three event bindings for methods we defined earlier, addContact(), editContact(contact.id) where we pass contact id and deleteContact($event, contact.id), where we also pass $event argument so that we prevent navigation when user clicks on delete button. By clicking on add contact or by clicking anywhere on contact item you should see contact-form works!. By clicking delete that contact (after a while) should disappear. Contact now looks like this (note if there are no contacts you should just see Contact list with Add contact button.) Contact list 
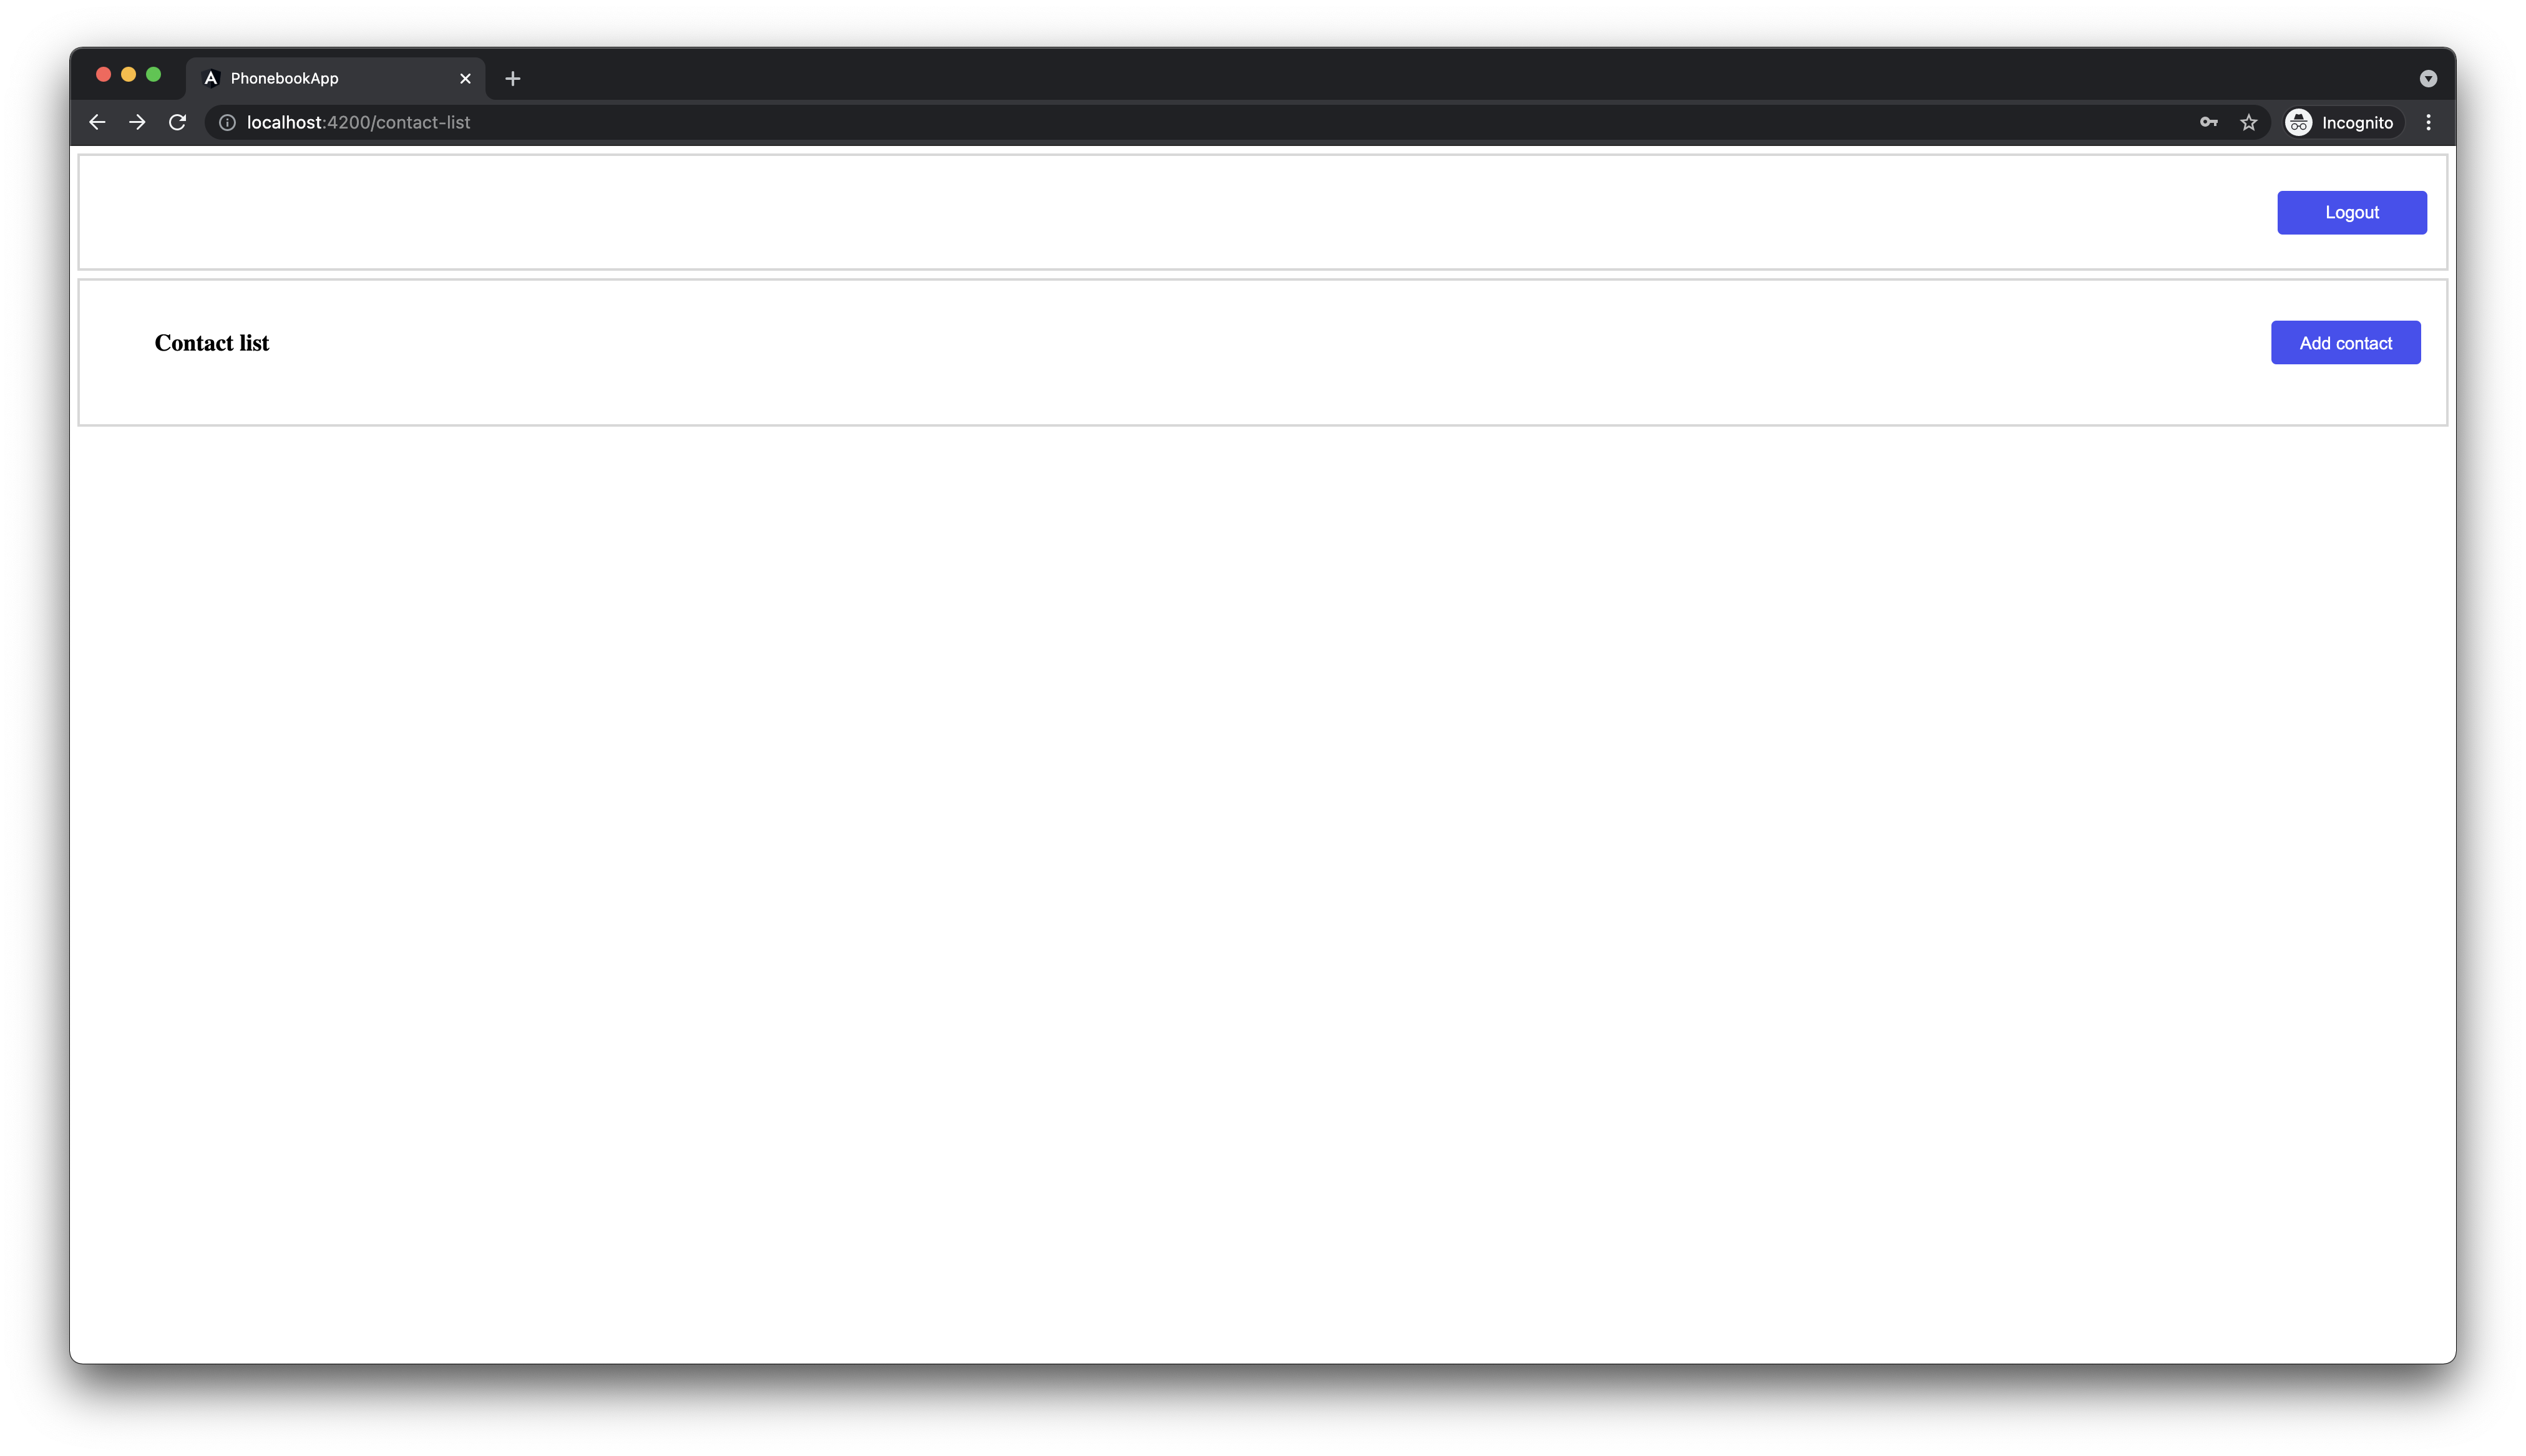
Try clicking on add contact, you should be redirected to contact-form component.

Let's proceed to Contact form.

Contact form component#

First add this four imports in contact-form.component.ts:

import { FormBuilder, FormControl } from "@angular/forms";
import { DomSanitizer } from "@angular/platform-browser";
import { ActivatedRoute, Router } from "@angular/router";
import { ArchitectSDKService } from "../architect-sdk.service";

We sill use FormBuilder ad FormControl to build form, DomSanitizer to sanitize user image url, ActivatedRoute to get id param from url. We already used Router and ArchitectSDKService. Lets add them all to the constructor.

constructor(
private _route: ActivatedRoute,
private _architectService: ArchitectSDKService,
private _formBuilder: FormBuilder,
private _sanitizer: DomSanitizer,
private _router: Router
) {}

Add this fields above constructor:

id: string | null = null;
title: string | null = null;
contactForm = this._formBuilder.group({
firstName: new FormControl(''),
lastName: new FormControl(''),
email: new FormControl(''),
phone: new FormControl(''),
image: new FormControl(''),
pictureUrl: new FormControl(null),
});

title will be title of the page, contactForm is where we will store information user pass to the form, id is where we will store contact id. We want to fetch contact data inside ngOnInit hook. Before we do that let's define getContact method.

async getContact(id: string | null) {
if (id === null) return;
const contact = await this._architectService.getContact(id);
this.contactForm.patchValue({
firstName: contact.firstName,
lastName: contact.lastName,
email: contact.email,
phone: contact.phone,
pictureUrl: contact.pictureUrl,
});
}

Now inside ngOnInit let's first get id parameter, then based on the absence or that parameter define a title and fetch contact information.

ngOnInit(): void {
this._route.paramMap.subscribe(async (params) => {
this.id = params.get('id');
this.title = this.id === null ? 'Create contact' : 'Edit contact';
this.getContact(this.id);
});
}

We also want our users to upload and preview images so lets add method for handling that.

onFileChange(e: Event) {
const files = (e.target as HTMLInputElement).files;
if (files) {
URL.revokeObjectURL(this.contactForm.get('imageUrl')?.value);
const pictureUrl = this._sanitizer.bypassSecurityTrustUrl(
URL.createObjectURL(files[0])
);
this.contactForm.patchValue({
image: files[0],
pictureUrl,
});
}
}

When user uploads image we create new object url and use that for our image src attribute. We also want to create or update contact. Since we use same form for updating and creating, we will decide what to do base on the value of id parameter. If it is null (no parameter provided) we will create contact. If id has some value we will edit contact. Also if the want's to use image we first need to upload that image, get url received as response and pass it to our form. Then we can update/create our contact. Here is how we will handle this

async onSubmit() {
const { image, ...newContact } = this.contactForm.value;
try {
if (image) {
const { url } = await this._architectService.uploadFile(image);
newContact.pictureUrl = url;
}
if (this.id) {
await this._architectService.updateContact(this.id, newContact);
} else {
await this._architectService.createContact(newContact);
}
this._router.navigate(['contact-list']);
} catch (e) {
console.log(e);
}
}

After successful create/update we will redirect user to contact-list. Now our file contact-form.component.ts should look like this:

import { Component, OnInit } from "@angular/core";
import { FormBuilder, FormControl } from "@angular/forms";
import { DomSanitizer } from "@angular/platform-browser";
import { ActivatedRoute, Router } from "@angular/router";
import { ArchitectSDKService } from "../architect-sdk.service";
@Component({
selector: "app-contact-form",
templateUrl: "./contact-form.component.html",
styleUrls: ["./contact-form.component.css"],
})
export class ContactFormComponent implements OnInit {
id: string | null = null;
title: string | null = null;
contactForm = this._formBuilder.group({
firstName: new FormControl(""),
lastName: new FormControl(""),
email: new FormControl(""),
phone: new FormControl(""),
image: new FormControl(""),
pictureUrl: new FormControl(null),
});
constructor(
private _route: ActivatedRoute,
private _architectService: ArchitectSDKService,
private _formBuilder: FormBuilder,
private _sanitizer: DomSanitizer,
private _router: Router,
) {}
ngOnInit(): void {
this._route.paramMap.subscribe(async (params) => {
this.id = params.get("id");
this.title = this.id === null ? "Create contact" : "Edit contact";
this.getContact(this.id);
});
}
async getContact(id: string | null) {
if (id === null) return;
const contact = await this._architectService.getContact(id);
this.contactForm.patchValue({
firstName: contact.firstName,
lastName: contact.lastName,
email: contact.email,
phone: contact.phone,
pictureUrl: contact.pictureUrl,
});
}
onFileChange(e: Event) {
const files = (e.target as HTMLInputElement).files;
if (files) {
URL.revokeObjectURL(this.contactForm.get("imageUrl")?.value);
const pictureUrl = this._sanitizer.bypassSecurityTrustUrl(
URL.createObjectURL(files[0]),
);
this.contactForm.patchValue({
image: files[0],
pictureUrl,
});
}
}
async onSubmit() {
const { image, ...newContact } = this.contactForm.value;
try {
if (image) {
const { url } = await this._architectService.uploadFile(image);
newContact.pictureUrl = url;
}
if (this.id) {
await this._architectService.updateContact(this.id, newContact);
} else {
await this._architectService.createContact(newContact);
}
this._router.navigate(["contact-list"]);
} catch (e) {
console.log(e);
}
}
}

Now let's add styles and markup. Paste code below in contact-form.component.css.

.contact-wrapper {
padding: 20px;
margin: auto;
box-shadow: 0px 0px 0px 1px rgba(178, 204, 247, 0.5);
border: 1px solid rgb(216, 215, 215);
}
.header {
margin-bottom: 35px;
}
form {
display: flex;
flex-direction: column;
align-items: center;
gap: 15px;
}
.file-wrapper {
height: 90px;
border: 1px dashed rgb(209, 213, 219);
margin: 20px 0;
width: 100%;
display: flex;
flex-direction: column;
align-items: center;
justify-content: space-around;
}
.file-label {
cursor: pointer;
color: rgb(74, 74, 243);
}
input[type="file"] {
height: 0;
width: 0;
}
.form-footer {
display: flex;
justify-content: flex-end;
gap: 25px;
width: 80%;
}

Now paste this into contact-form.component.html.

<app-navbar></app-navbar>
<div class="contact-wrapper">
<div class="header">
<h3>{{ title }}</h3>
</div>
<div class="form-wrapper">
<form [formGroup]="contactForm" (ngSubmit)="onSubmit()">
<div class="form-field">
<label for="firstName">First name</label>
<input type="text" formControlName="firstName" id="firstName" />
</div>
<div class="form-field">
<label for="lastName">Last name</label>
<input type="text" formControlName="lastName" id="lastName" />
</div>
<div class="form-field">
<label for="phone">Phone</label>
<input type="text" formControlName="phone" id="phone" />
</div>
<div class="form-field">
<label for="email">Email</label>
<input type="text" formControlName="email" id="email" />
</div>
<div class="file-wrapper">
<img
*ngIf="contactForm.value.pictureUrl"
[src]="contactForm.value.pictureUrl"
width="48"
height="48"
/>
<label class="file-label" for="file">
You can use <span>JPG or PNG</span> file
<input
type="file"
class="file-input"
accept=".jpg, .jpeg, .png"
(change)="onFileChange($event)"
name="file"
id="file"
/>
</label>
</div>
<div class="form-footer">
<a routerLink="/contact-list">
<button class="btn btn-white">Discard</button>
</a>
<button class="btn btn-purple" type="submit">Submit</button>
</div>
</form>
</div>
</div>

You should see this on your screen
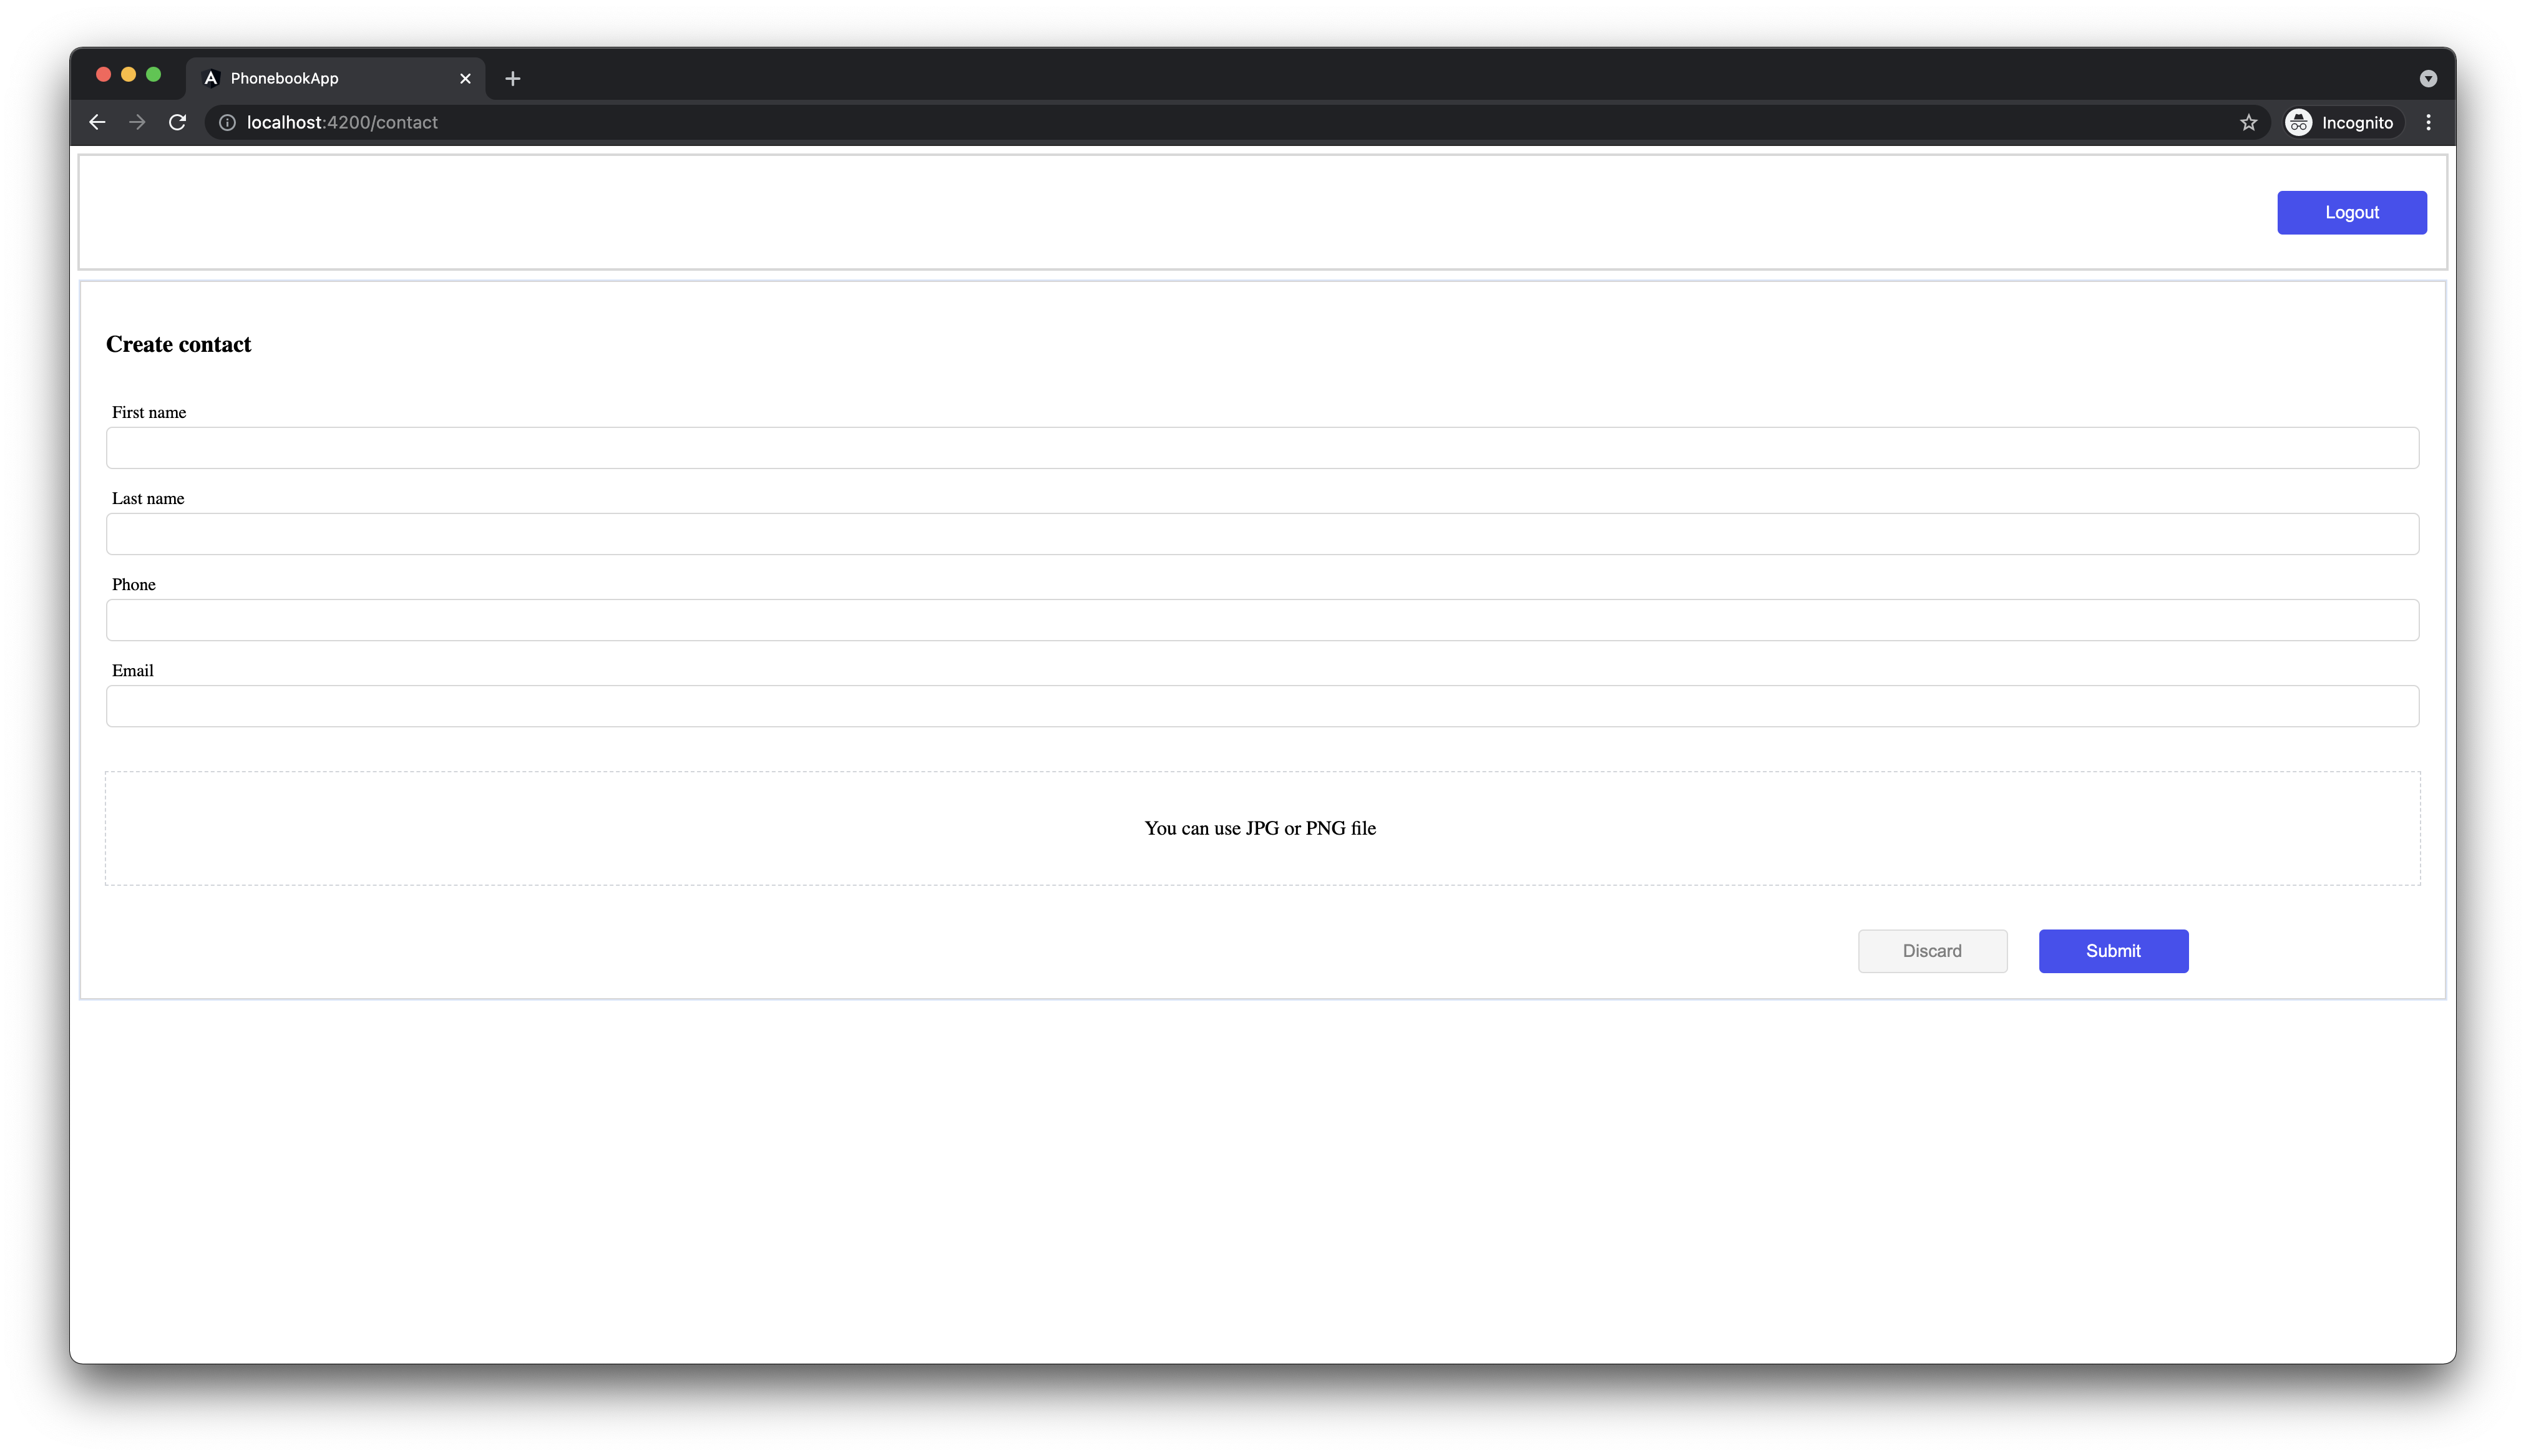
 Contact form.

Play around with form and see if everything is working. Try creating, updating and deleting contacts. There is only one thing left to do. Currently user can visit all pages contact-list, contact regardless if he is authenticated or not. We can fix that by using guards.

Route Guard#

Route guard is used to prevent users from navigating to parts of application without authorization. Lets create one to prevent unauthorized users from accessing certain part of the app. First let's type following command in terminal:

ng generate guard auth

Choose first option and a new file called auth.guard.ts should be in your app folder. Paste this code:

import { Injectable } from "@angular/core";
import { CanActivate, Router } from "@angular/router";
// Services
import { ArchitectSDKService } from "./architect-sdk.service";
@Injectable({
providedIn: "root",
})
export class AuthGuard implements CanActivate {
constructor(
private _architectSDKService: ArchitectSDKService,
private _router: Router,
) {}
canActivate() {
if (this._architectSDKService.isLoggedIn() === false) {
return this._router.parseUrl("/");
}
return true;
}
}

The most important part here is canActivate method. Using ArchitectSDKService we first check if the user is logged in and if he isn't we we redirect him to / route (Login page). If user is logged in we return true signaling to angular router that user can access that route. Now all we need to do is to register guard to routes. Go to the app.routing.module.ts, import AuthGuard and add new prop canActivate. After you done all that app.routing.module.ts should look like this:

import { NgModule } from "@angular/core";
import { RouterModule, Routes } from "@angular/router";
import { ContactFormComponent } from "./contact-form/contact-form.component";
import { ContactListComponent } from "./contact-list/contact-list.component";
import { LoginComponent } from "./login/login.component";
import { AuthGuard } from "./auth.guard";
const routes: Routes = [
{
path: "contact/:id",
component: ContactFormComponent,
canActivate: [AuthGuard],
},
{
path: "contact",
component: ContactFormComponent,
canActivate: [AuthGuard],
},
{
path: "contact-list",
component: ContactListComponent,
canActivate: [AuthGuard],
},
{ path: "", component: LoginComponent },
];
@NgModule({
imports: [RouterModule.forRoot(routes)],
exports: [RouterModule],
})
export class AppRoutingModule {}

Now our routes should be protected. Try clicking on the logout. You should be redirected to login page and you shouldn't be able to access /contact-list, /contact-form routes unless you login.

Conclusion#

We showed how easy is to make a full app (though a simple one) using our powerful Architect SDK that can easily be integrated into any angular application. To see full power of Architect SDK check rest of the docs. You can find different ways to authenticate users, use webhooks etc. You can also check other tutorials we have.


  1. Make sure that you have globally installed Angular CLI. Go to https://angular.io/guide/setup-local for more information.↩
  2. https://architect_demo.essentialz.cloud is free appId that is available for demonstration purposes. When you are configuring your application make sure that you insert your app id instead of architect_demo part. It should like like this https://<your_app_id>.essentialz.cloud↩
  3. We could define different create contact component but a lot of code will be duplicated so we will use same component for both create and update contact. We will show later how to determine if the contact should be updated or created.↩
  4. If you like you can handle error inside catch block, by assigning it to some filed in the class and displaying error message to the user. However we will just console log message.↩
  5. If you don't have an account you can use nikola@essentialz.io for email and architectdemo2021 for password.↩
  6. We are prevent default actions because by clicking anywhere on the list item user will be navigated to contact component.↩